Theme Installation Process

Thank you for downloading our theme. This document covers the installation, set up, and use of this theme and provides answers and solutions to common problems and issues. We encourage you to read this document thoroughly if you are experiencing any difficulties. If you have any questions that are beyond the scope of this document, feel free to email us or you can also use live chat on our website.

Note: Our Freshdesk and Freshservice theme installation process is the same across all themes. That is the reason we only showing one installation process.

Theme Installation Process – (version-1.0.1)

Few words on start

Our Freshdesk and Freshservice theme is our most advanced and sophisticated theme we built so far. It is very easy to setup and use. Available only on Aries Themes!

You can also share your customization points. We’ll do as per your needs.

How to install (for FRESHDESK)

Note: If you don’t want to install the theme from yourself, Just let us know, our team will install the theme in your Freshworks account with your brand colors and images. We provide these services free those using our themes.

  • Download the theme files (ZIP file) from your account in ariesthemes.com . ZIP file name will be like this – “onil-freshdesk-theme-1.0.1”
  • Login as admin into your Freshworks account
  • Click on “Admin” (appearing on left bottom side)
    admin
  • Click on “Portals” option
    Portals
  • Click on “Customize portal” button
    Customize icon
  • You can see your templates here. (i.e Colors & font, Stylesheet, Layout & pages)
  • Now UNZIP your downloaded file and paste the templates according to the name. (you can also use the drag n drop > Just drag the file and drop it according to the templates name > remove exist code then drop the file)
    Customize icon
  • When you’ll drop/add the template. You have to click on “Save and Publish” button. (appearing on right bottom side)
    Publish
  • Theme will be activated in your Freshdesk account.

Congratulations! Now theme will be live in your support. You can see the preview of your Support Portal.

Update Logo and Favicon

  • Click on “Admin”
  • Click on “Portals” option
  • Click on the name of your portal and you can see the option to add the Logo and Favicon
    Portal Name

Add/Update category icons on homepage

Category Icons

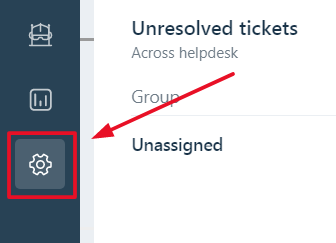
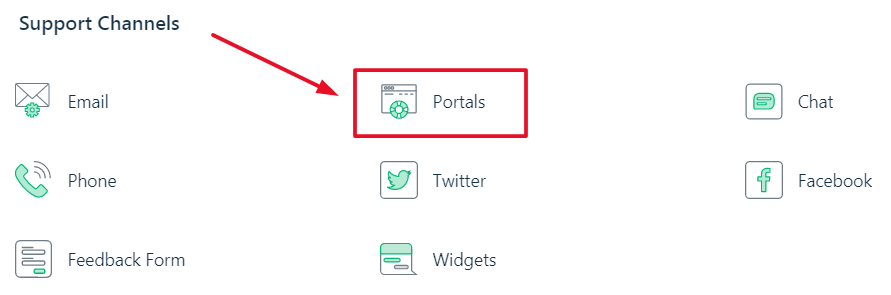
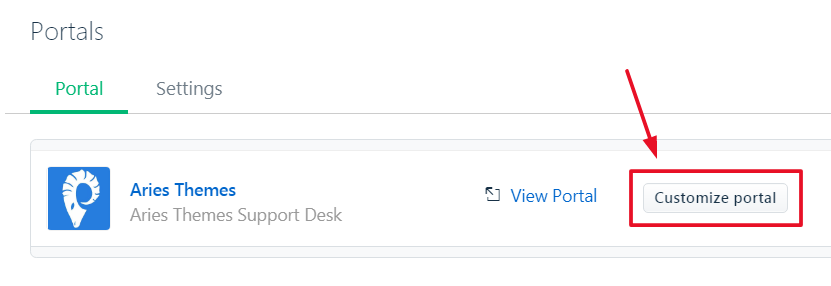
See below instruction –

  • Go to the “portal-home” template and go to the bottom area. Just add your support center category ID and Font Awesome icon path as per your need
  • You can choose your Font Awesome icons here
  • After update all points then click on “Save and Publish”
  • If you want to use your own “Image Icons” instead of “Font Awesome” icons. Just email us our team will help you.

How to find support center category ID

  • Click anyone category of your Support Portal
  • Go to the URL (address bar of your browser)
  • You can find your category ID here

Hurray !! you have installed the theme. Please share your feedback about our Freshdesk theme.

If face any issue feel free to contact us (info@ariesthemes.com) for any questions or help. You can also use live chat.